
What you will get
Your office staff working in the system, with the right access — neither too little nor too much.
The path is Team Members.
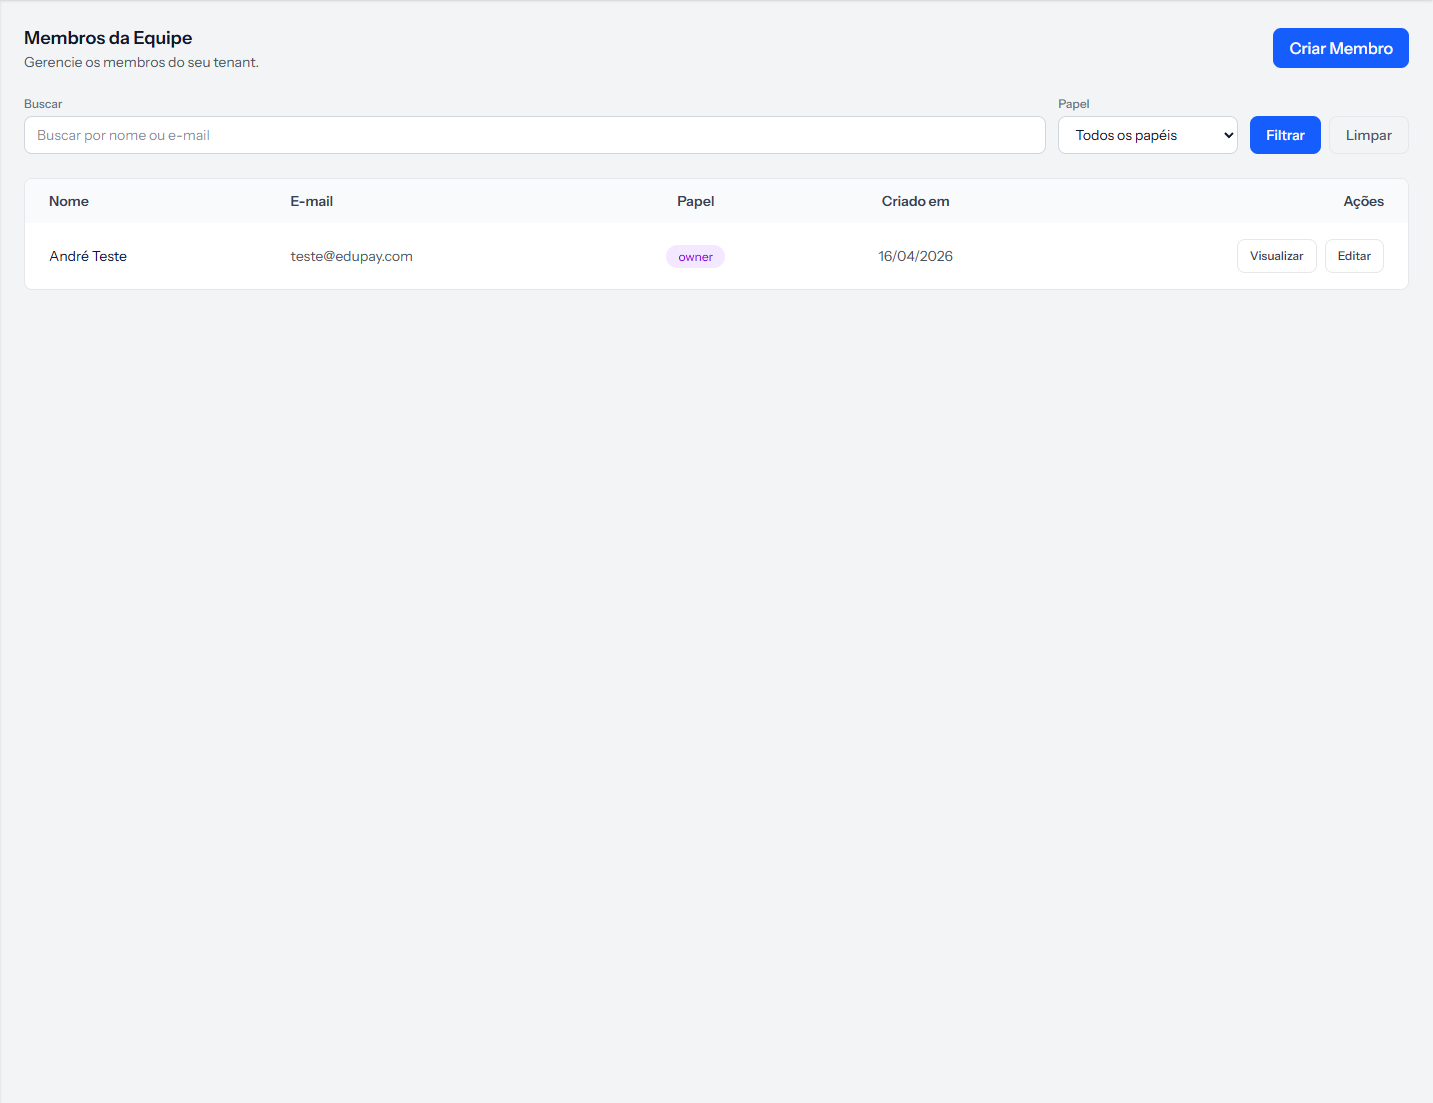 One row per person. The Role column shows the current role, and the button at the top creates a member. The screenshot is from the Portuguese panel; the layout is the same in English.
It is not an invitation: you create the access
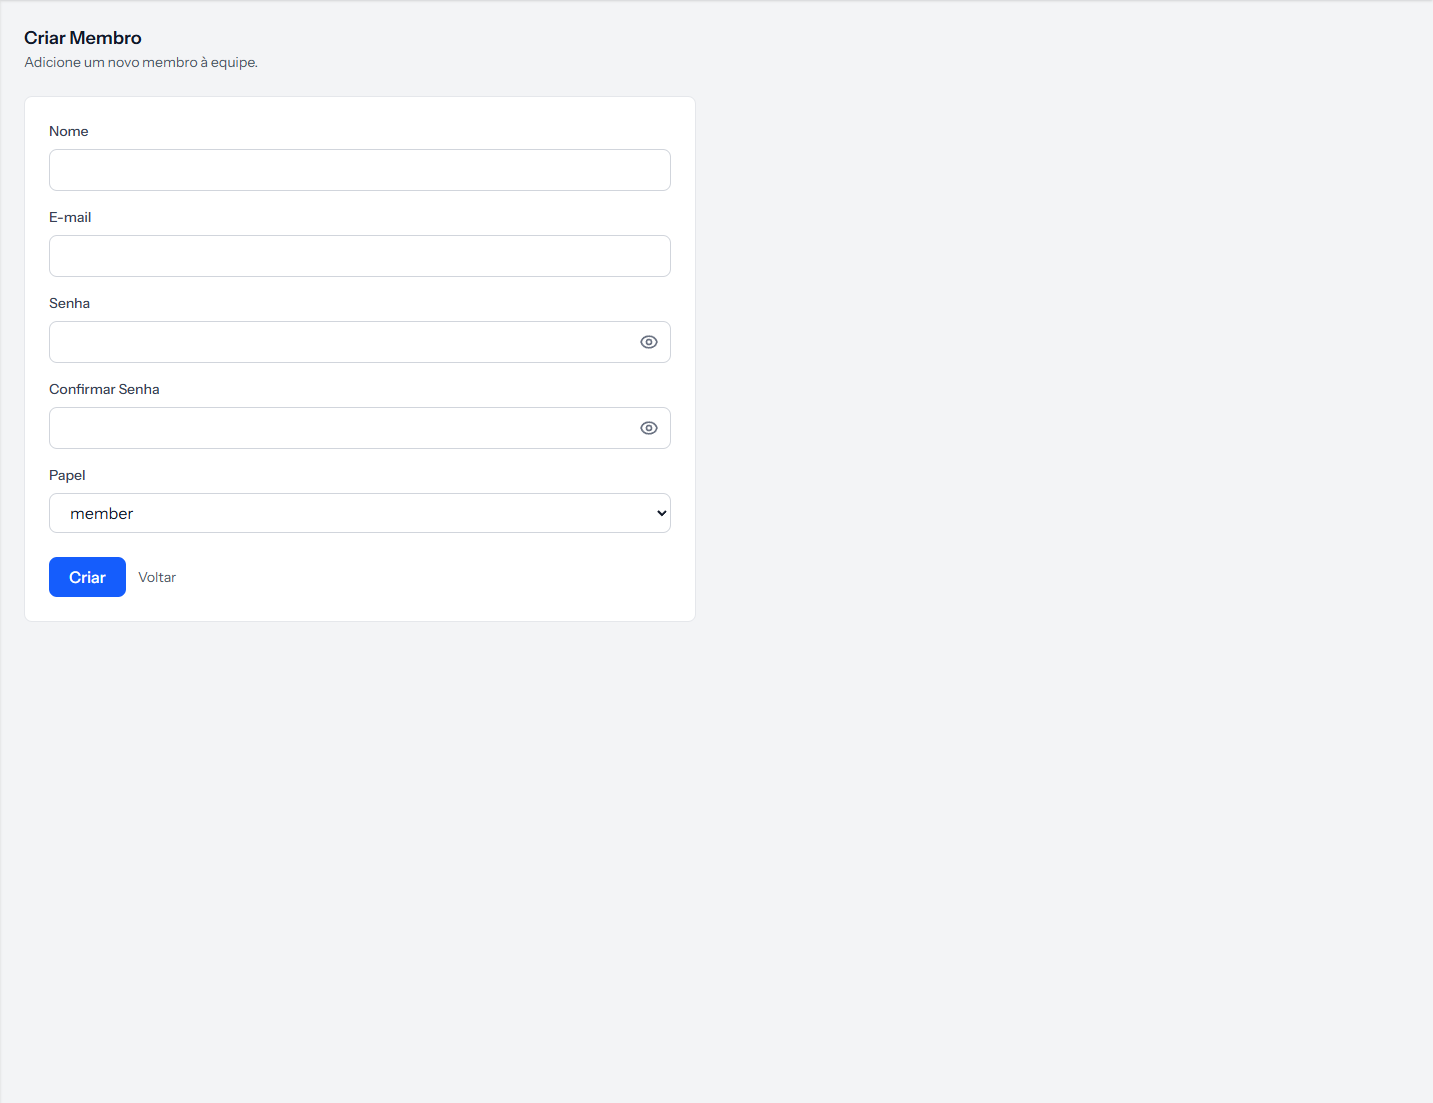 Five fields. You set the password, and the person gets it however you choose — there is no invitation email.
That changes practice in two ways:
You have to agree the password with the person. Write a temporary password, create the access and pass it on through a safe channel — ideally in person or by message, not by email alongside the system address.
You know their initial password. Ask them to change it on first sign-in, from their profile. Until they do, the access is not theirs alone.
The two roles
| Owner | Team | |
|---|---|---|
| Create and edit students, offerings, cohorts and tracks | ✓ | ✓ |
| Enrol, charge, review signatures | ✓ | ✓ |
| Delete a student, offering, cohort or track | ✓ | — |
| Price tables and contract templates | ✓ | — |
| School settings | ✓ | read only |
| Cancel an enrolment | ✓ | — |
| Create and edit members | ✓ | — |
Choose "team" by default. It covers the whole office routine — registering, enrolling, charging, checking contracts. What it does not do is precisely what should not be done without thinking twice: deleting things, changing prices and cancelling enrolments.
When permission is missing, the button is not greyed out — it is not on the screen at all. That explains almost every "the system lost my button" your team reports.
The role shows in English on the list
The Role column shows owner and member, which are the internal names. Read
them as owner and team. Logged for correction.
The member limit applies here
If your plan has a member limit and it has been reached, the create button returns you to the list with the limit notice. The limits article shows where to see the headroom.
How you know it worked
The person appears on the list with the chosen role, and can sign in with the email and password you set.
If something goes wrong
The create screen bounces back to the list. The plan's member limit has been reached.
A colleague signs in but cannot find a button. Check their role on the list. The table above says what each role sees.
The email is already in use. Each person has one account per school. If they already work at another institution in the system, use a different email here.
Reviewed on · view as plain text